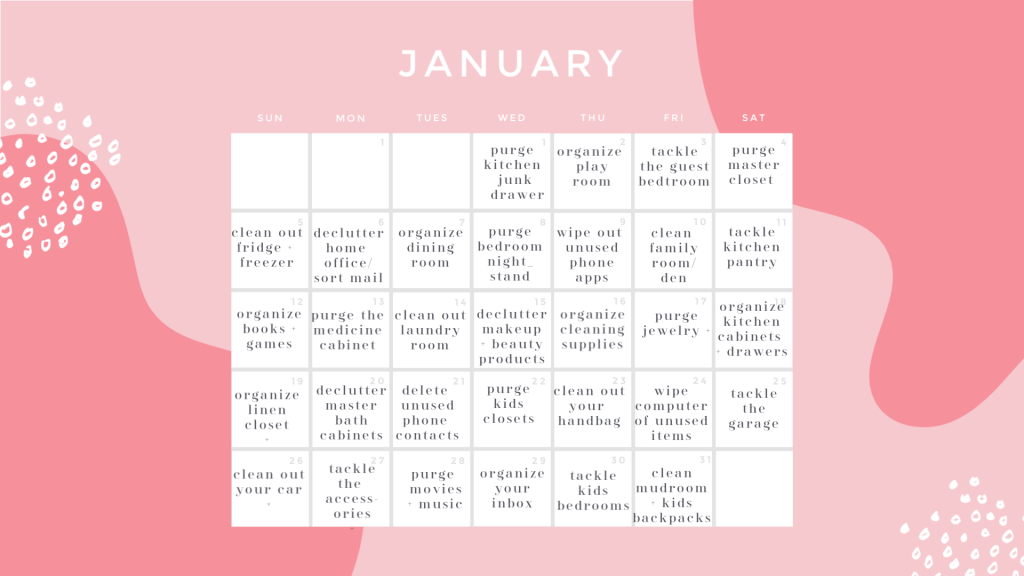
So here we are… more than a week well into the January Organization Challenge and I don’t know about you, but I feel SO much lighter after clearing out my master closet, home office, junk drawers, nightstands and more. A big high five to myself for staying on target and actually completing my mission [so far at least].Now on to kitchen pantry organization! If you’re just tuning in, I’ll link the challenge calendar below–you can always dive in and join a bit late!!!
Earlier this week, I had the privilege of having Holly from Neat Method Nashville over to my home for a little pantry refresh. Tomorrow’s agenda calls for all things KITCHEN PANRTY so I thought this was the perfect time to share some of her incredible knowledge + know how so than you can get prepped and primed to tackle your pantry to make it a happy space where everyone in your family knows how to snag their snacks, essentials, paper products, etc.
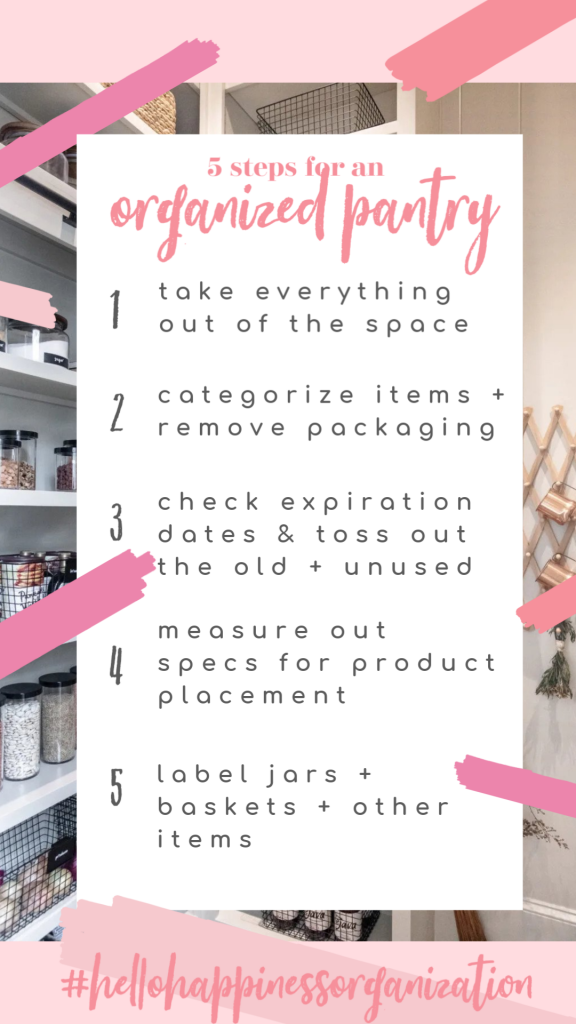
AND because everything is easier to interpret via a graphic, I whipped up this handy dandy cheat sheet with Holly’s Five Steps to an Organized Pantry:
Kitchen Pantry Organization Tips
ONE. TAKE EVERYTHING OUT.
Yes, everything. Remove all the boxes + bins, random nonsense cluttering up the space, and get your pantry spic and span. Wipe down the cabinets/shelves and get that dust gone and if you’re like me, whip out your beloved Dyson to do the job for you. Once you see your space you can better understand how it can function for your family!
TWO. CATEGORIZE ITEMS + REMOVE PACKAGING.
THREE. CHECK EXPIRATION DATES AND TOSS OUT OLD + UNUSED ITEMS
Even though I am an avid cleaner-outter [not sure that’s a word, but I made it one!]], I couldn’t believe how many random things I had in my pantry that had expired. My baking powder was overdue to be tossed and so were a few of the girls’ grab-and-go snacks… be sure to check those baking products, sauces, spices and such too–those are ones I tend to overlook! Also, if there is a random item you’ve had in your pantry forever in the hopes you “might” use it or cook with it, but have yet to do so, toss it. You forgot it was there for a reason ;).
FOUR. MEASURE OUT SPECS FOR PRODUCT PLACEMENT.
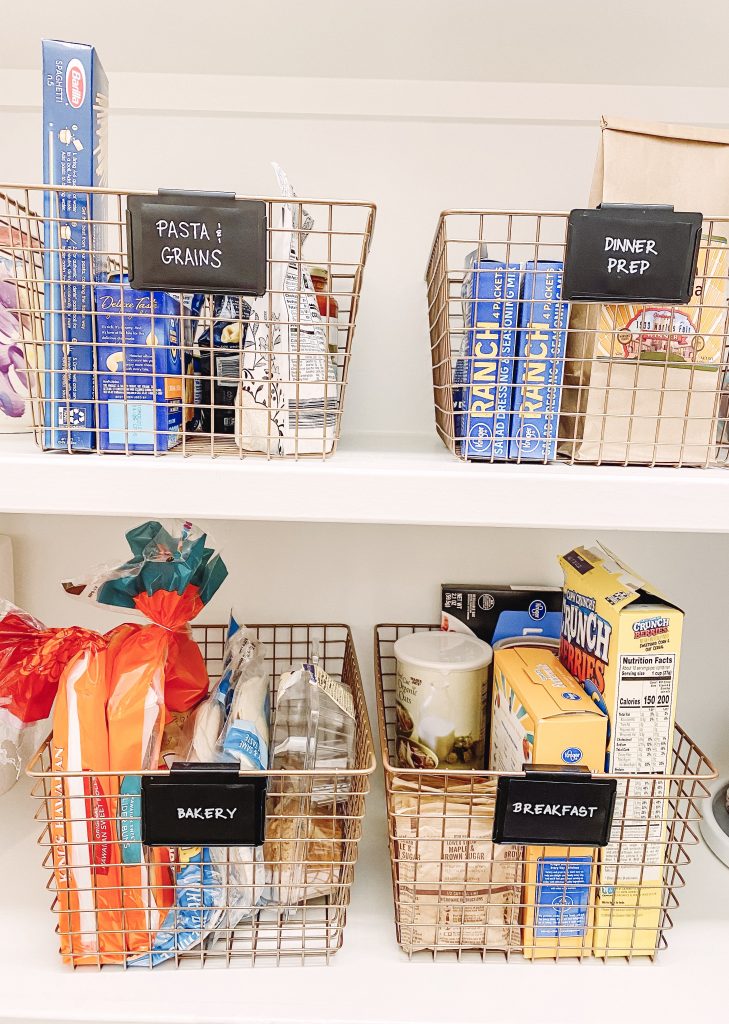
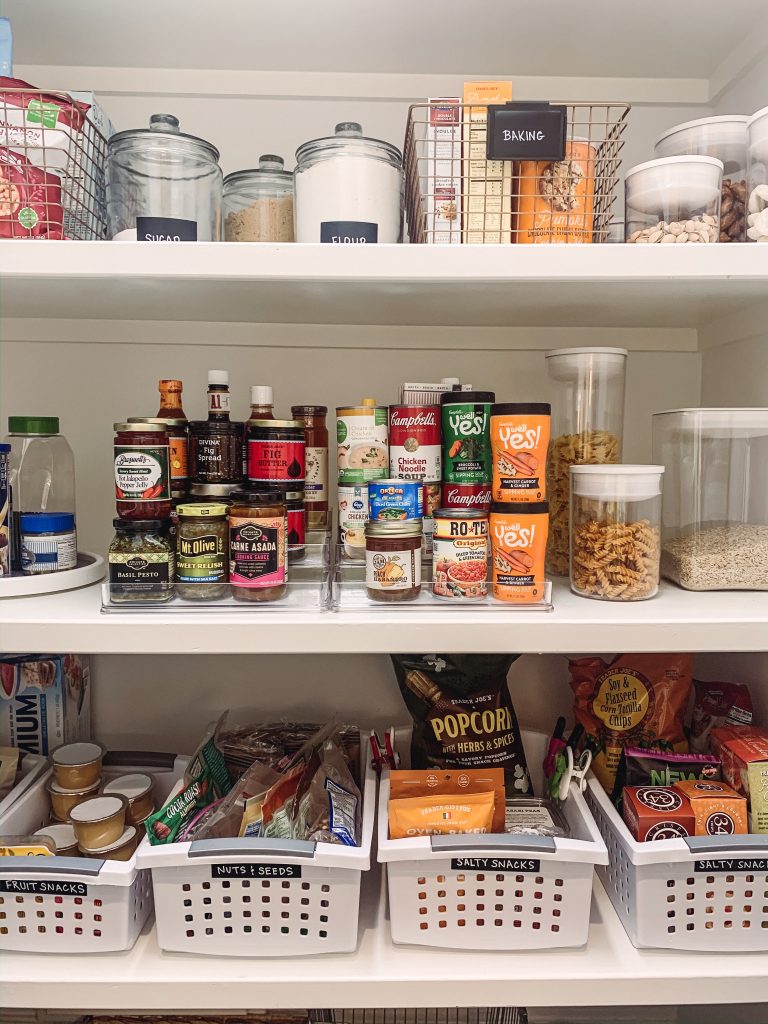
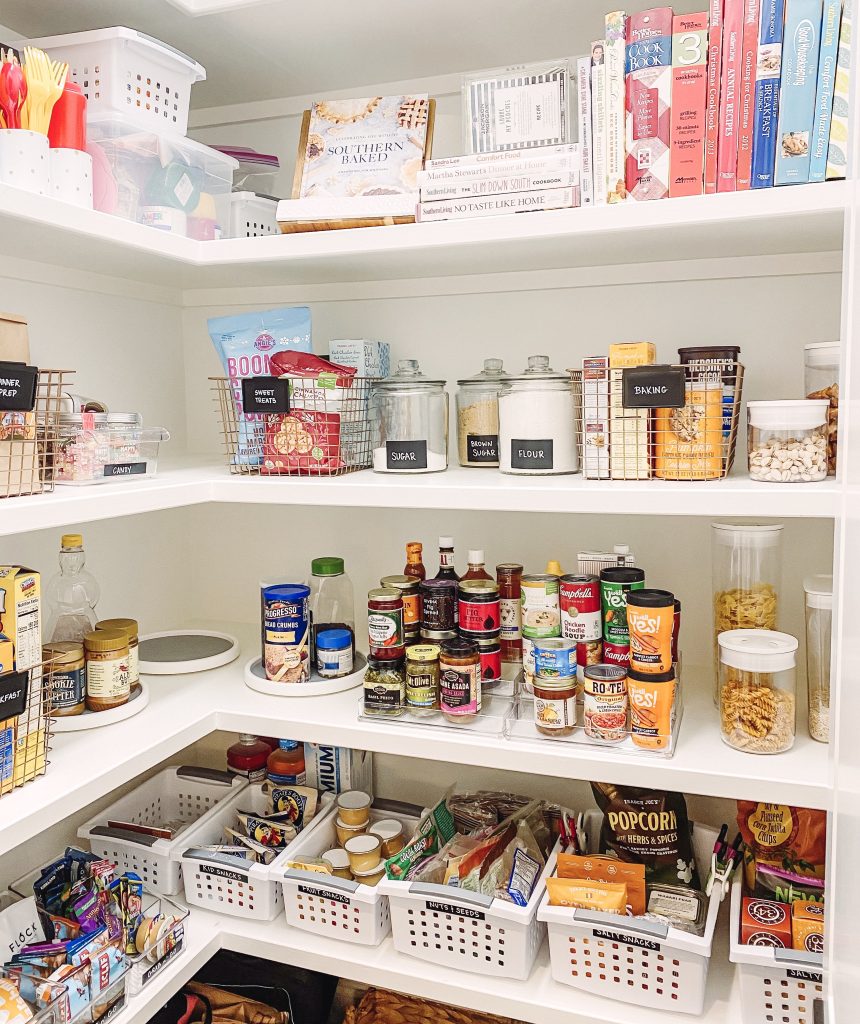
I want to preface this for my personal space as we didn’t do it for me, JUST because of the fact I already had a ton of baskets and storage options already on-hand and we didn’t need to duplicate efforts just for the “pretty” factor. Now you know I love pretty, but functional and budget-friendly is also important and it’s not all about the aestethic sometimes… it needs to be about usefulness and making your days easier! Holly was great in utilizing items I already own and now I’ve got a tiny shopping list to hit up on my next Container Store run [mainly Click Clack Storage Canisters for cereal, pancake mix, etc]. She also mentioned using baskets + bins that work well with your home, so when she does a consult she always asks for what types of containers you prefer, go with your home, etc.
So back to the issue at hand… measurements! Get your measuring tape out, check depth and width for cabinets and shelves, quantities for what you need and formulate a game plan–it can get overwhelming when you’re looking at 37485 organizing options so when you know an estimate of what you need to purchase, it’ll be easier [and less expensive] to knock out.
FIVE. LABEL BASKETS + JARS + OTHER ITEMS
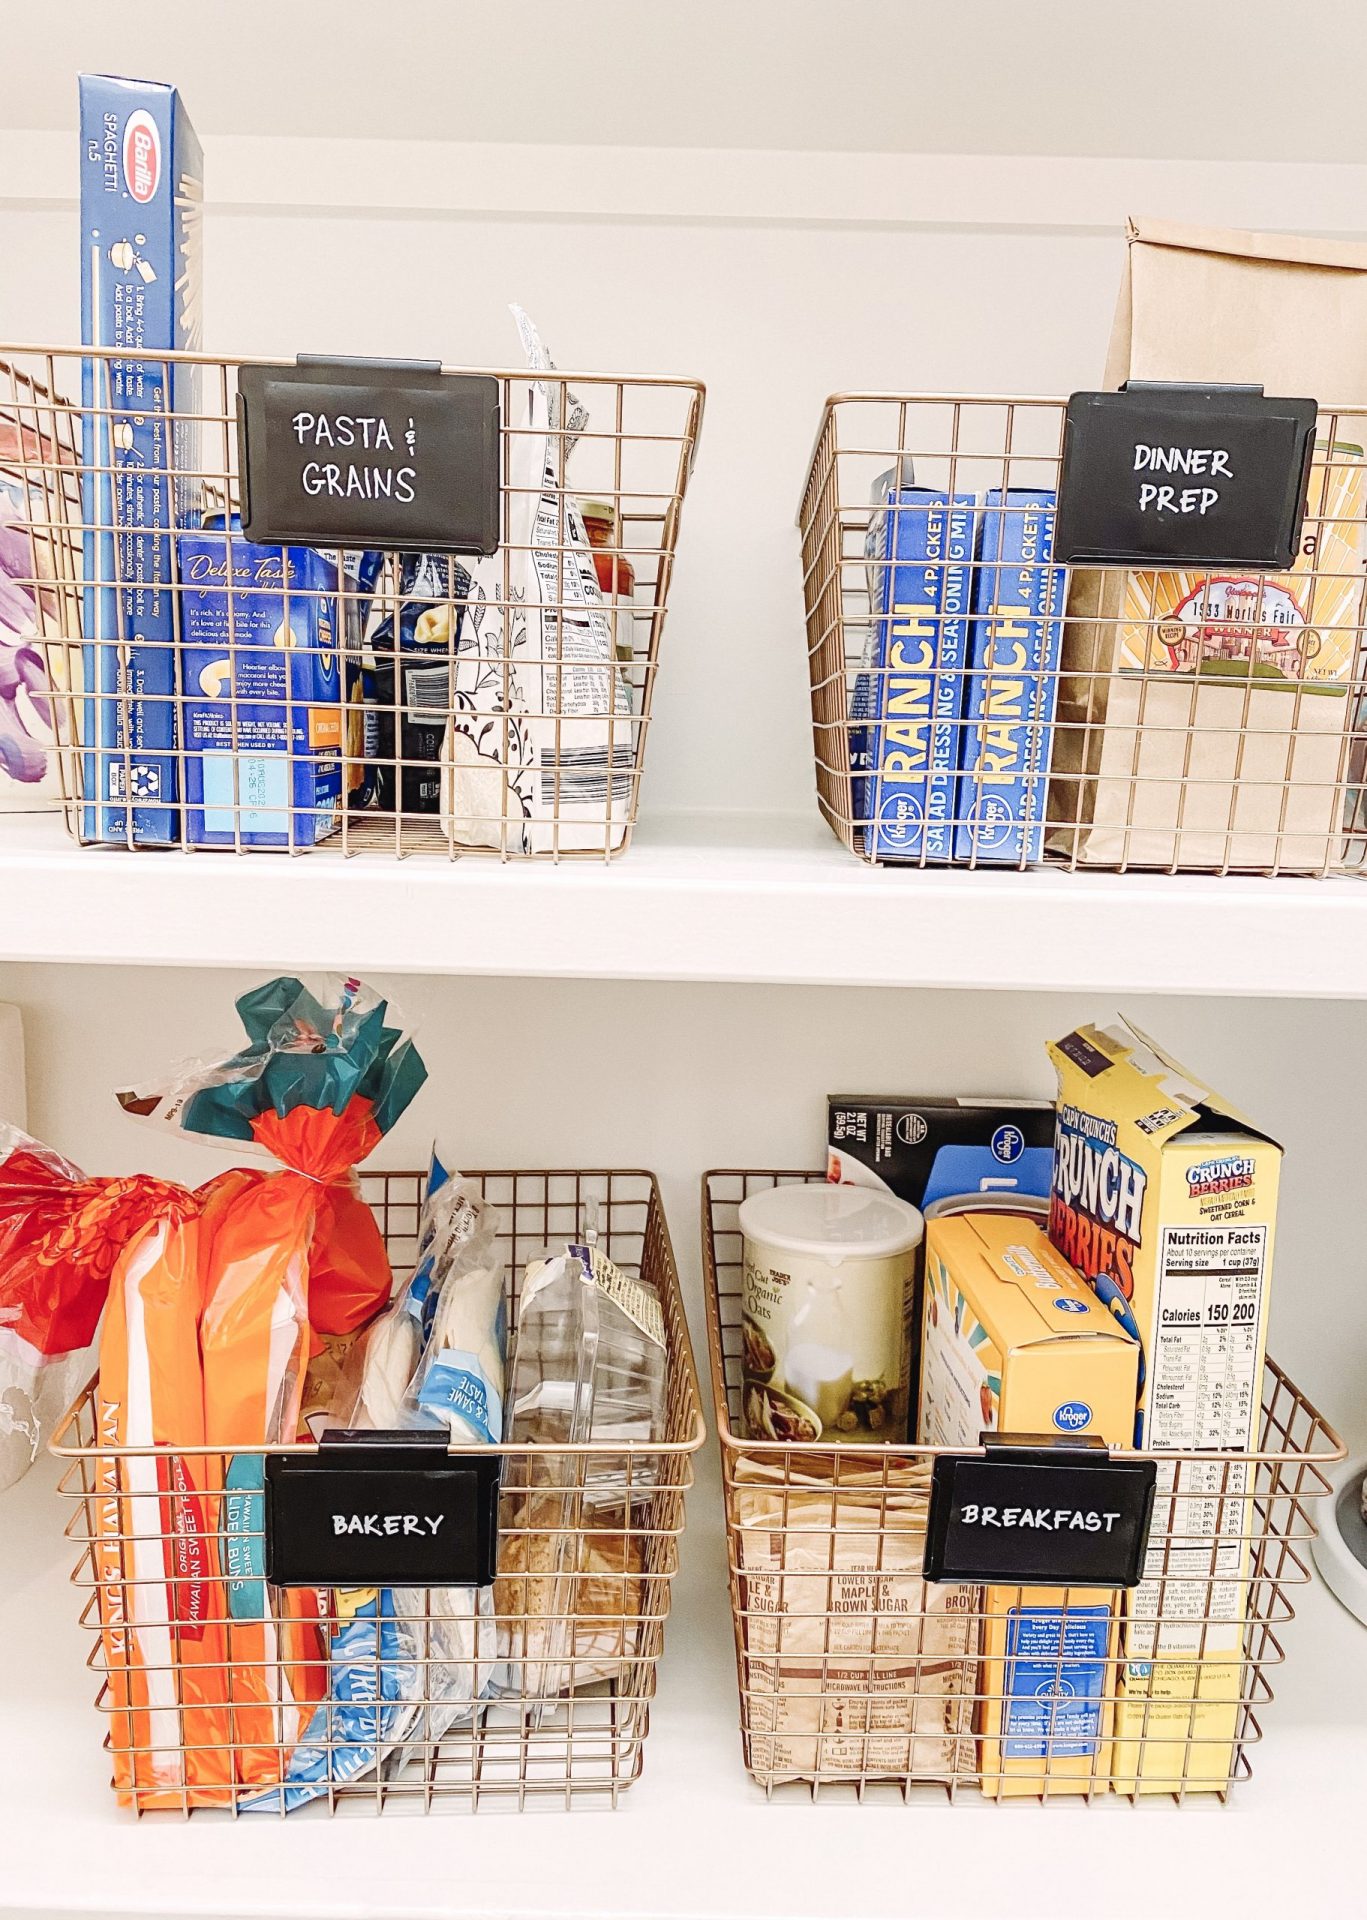
OK, spoiler alert–I lied. This is TOTALLY my favorite topic… bring out the labeler, Cricut, and paint pens. Music to my ears I tell you. Holly has all the professional labels you could ever need, but I love making sure everything has a home and is properly labeled. Expert tip time: on the back of canisters where you house pasta, grains, etc, use a chalkboard marker to write how long you cook them for, date of purchase/expiration, and you can easily wipe off once you use and/or change out contents. Why hadn’t I thought of that??? I love these little changes that even husbands can interpret–talking to you there Jeff.


Can you link the white baskets you used? I need these for toy storage bc they’re thick