Ohhh I know ya’ll love a good before and after!!! A few months ago, our Bunco Group had a girls’ night where we had local MUA [local makeup artist] Mandy Davis come over and teach us some new tricks of the trade…
Let’s be honest, we all LOVE makeup, but a lot of us [ahem, me included] need help when it comes to application, contouring, covering up the spots we’re not as fond of, and so on… so of course I reached out Mandy asking her to stop by for a blogging collaboration to work her magic on my face.
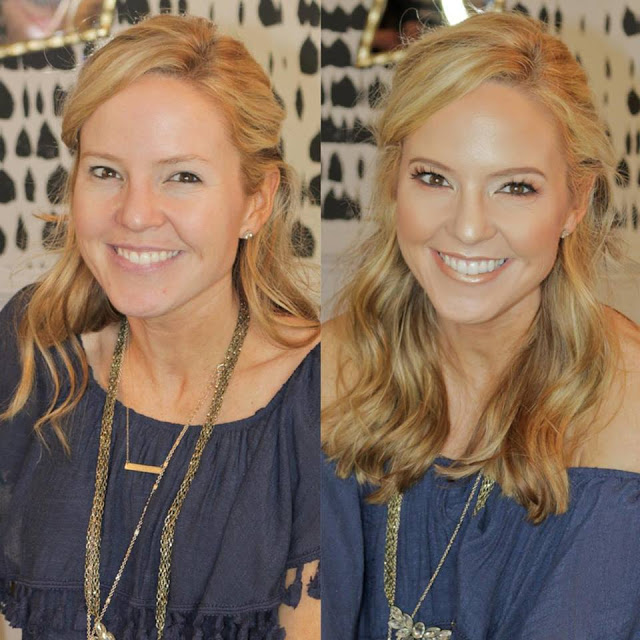
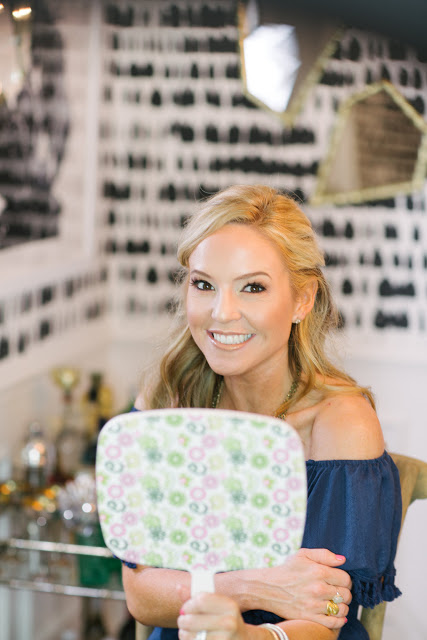
First things first, I will show you MY before and after, just so you can see first-hand Mandy Davis MUA’s legit skills…
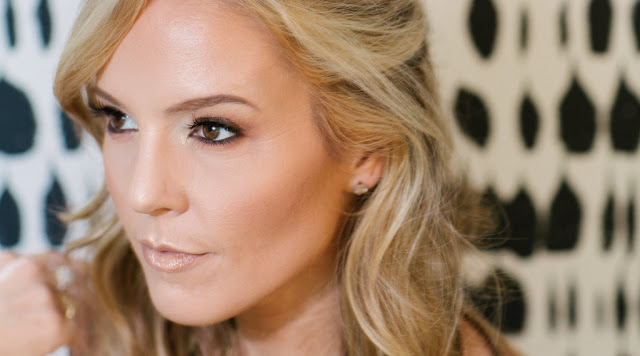
I don’t normally use a lot of “gold/bronzed” shades with my makeup so it was fun to see how to incorporate other hues into my palette for spring and summer with “dewy” tints, which are perfect for warm weather months!
Makeup by Mandy Davis MUA:
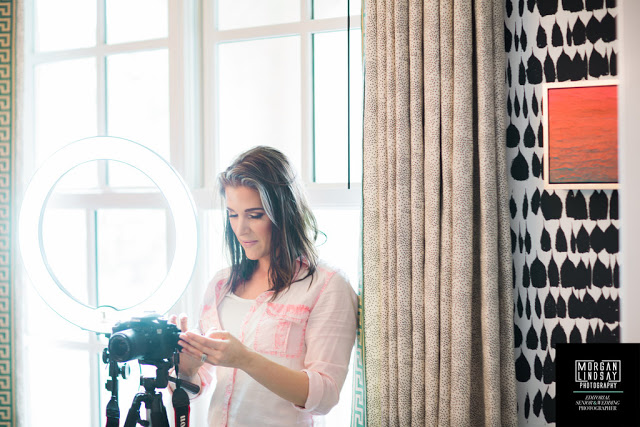
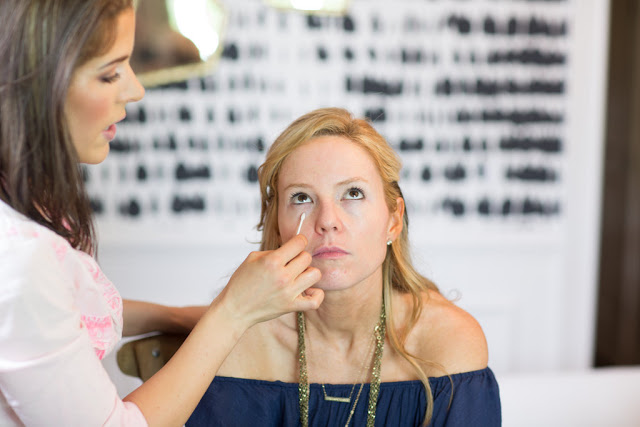
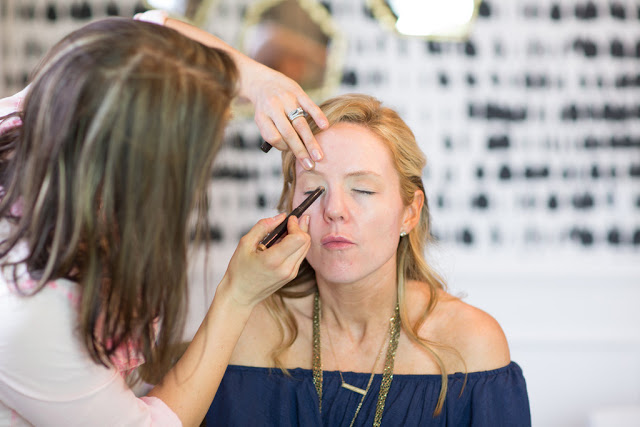
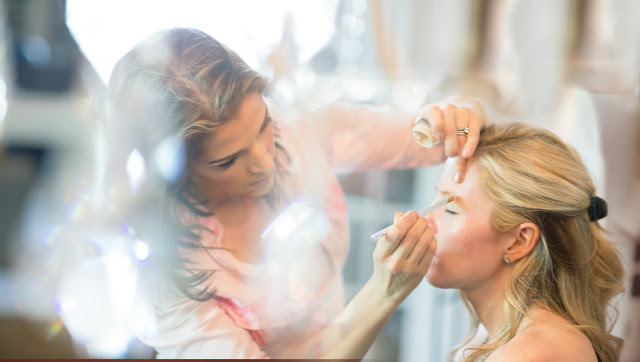
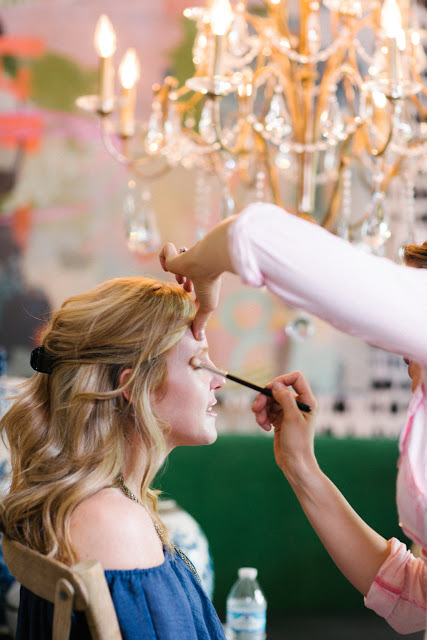
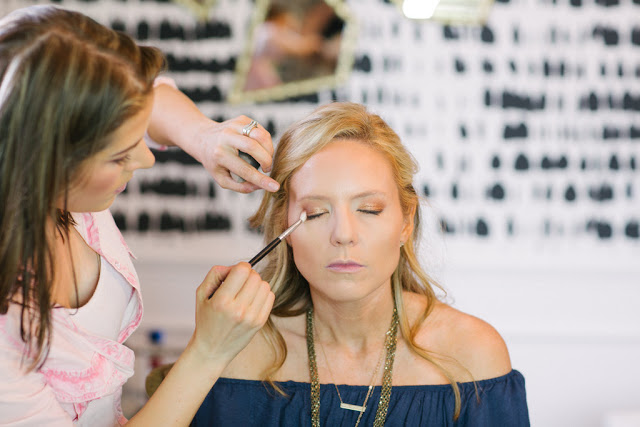
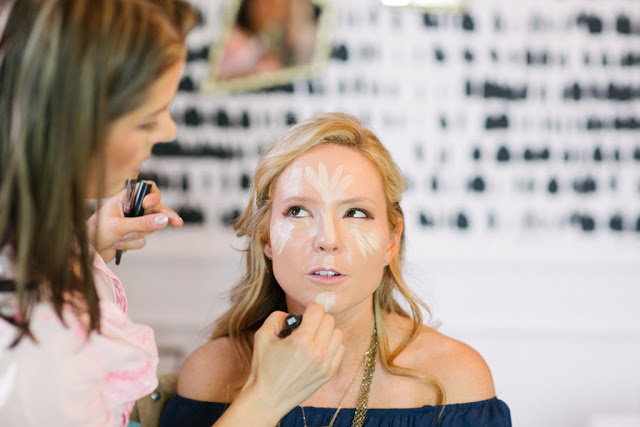
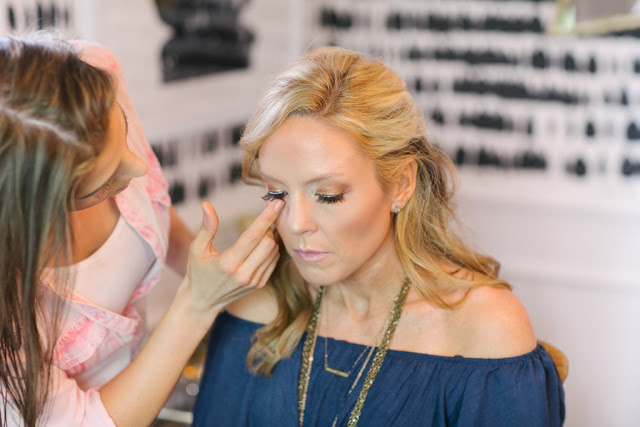
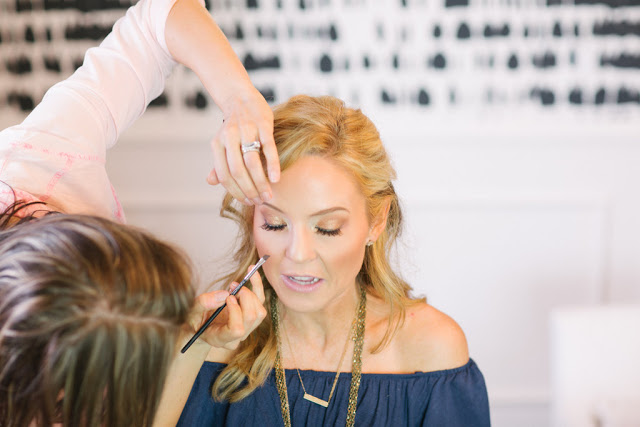
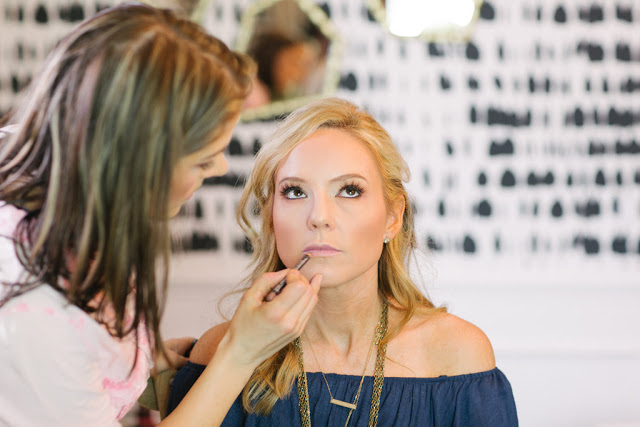
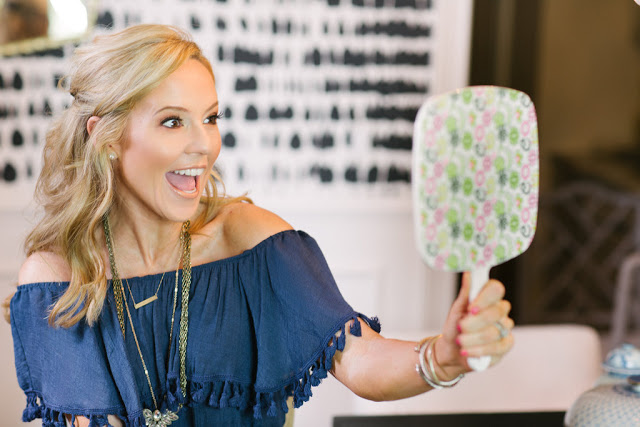
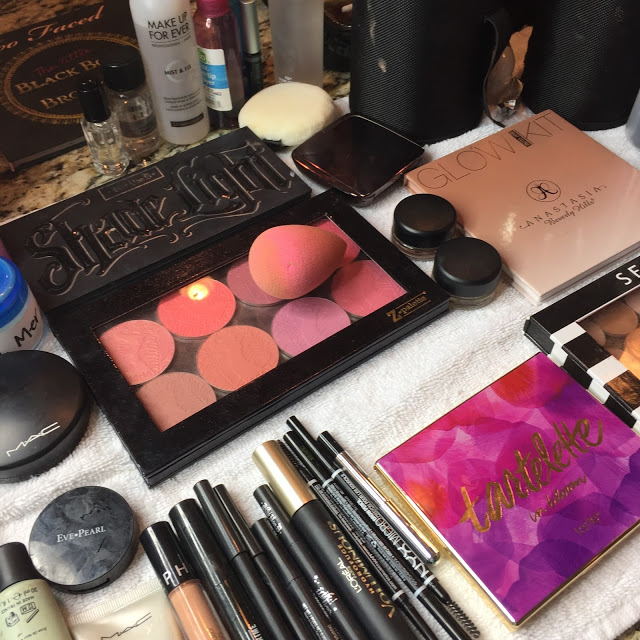
Here are a few photos that walk us through her application process from start to finish [with a full video tutorial at the end of the post], and I have asked Mandy to fill in the details on the exact products she uses, too… that way you can scoop them up like I did!
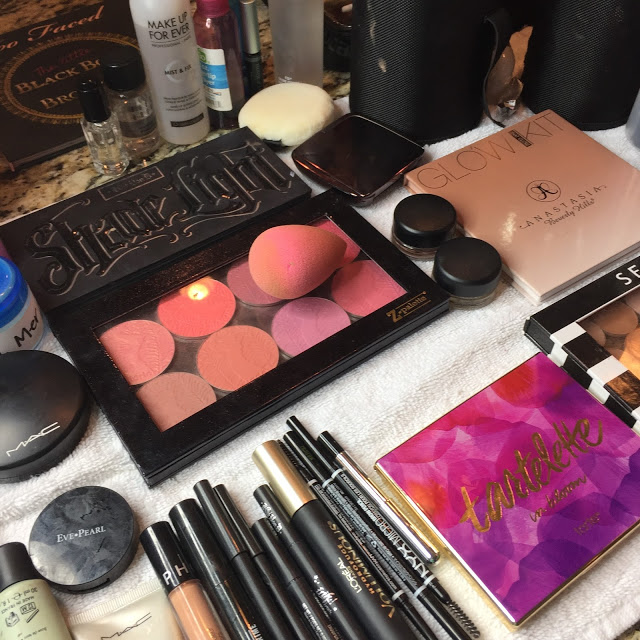
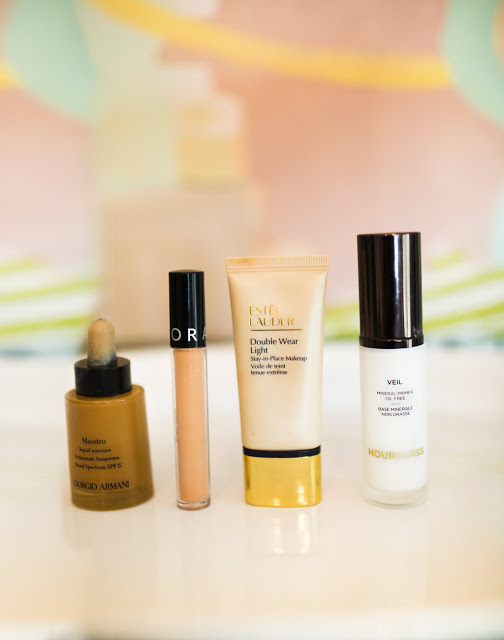
Hourglass Mineral Veil Primer: This primer works wonders for any skin type. It is a nice satin finish that makes your face a very smooth canvas for makeup application, and it’s water resistant formula really helps your foundation stay fresh and shine free all day long.
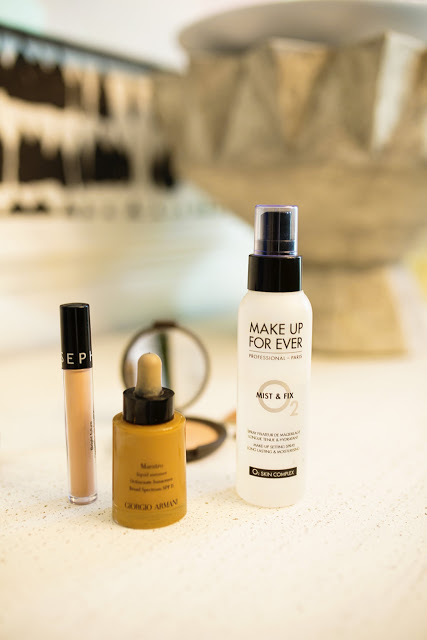
Sephora Bright Future Corrector [Shade: Melon]: Mandy used this when she met with us the first time and I kicked myself for not writing it down. This is a MUST dear friends… for anyone with kids, stressful jobs, or just life in general, you need. You can thank me later… per Mandy, color correcting is all the rage right now, but honestly makeup artist have been doing it since the beginning of painting faces. This orange color is ideal for correcting any darkness or discoloration you may have. The most common places for this is under the eyes and around the mouth in certain skin tones. This shade is also really great for correcting age and sun spots.
Estee Lauder Double Wear Light Foundation [Intensity 3.0] Estee Lauder Double Wear original formula has been a cult favorite for years in the makeup community. The Light version that I used here is perfect because it creates an amazing natural finish that is not heavy feeling at all on the face and will last you all day long…through sweat, humidity, and just plain life. It is the perfect alternative to the original formula if you are not a fan of very matte foundations that can tend to feel heavy on the skin.
Eyeshadow Primer Pots via MAC [Colors Painterly and Soft Ochre]: I ALWAYS prime my eyes as well as my clients eyes…it really helps the shadow stay all day long without creasing. My favorite primers are the Paint Pots by MAC. The most common primer shades are Painterly and Soft Ochre.
In terms of eyeshadow, my go-to items include the Makeup Geek Cosmetics Shadow in Cream Brûlée and Nars Eyeshadow Duo in “Isolde”… the PERFECT Summer duo for the optimal golden glow.
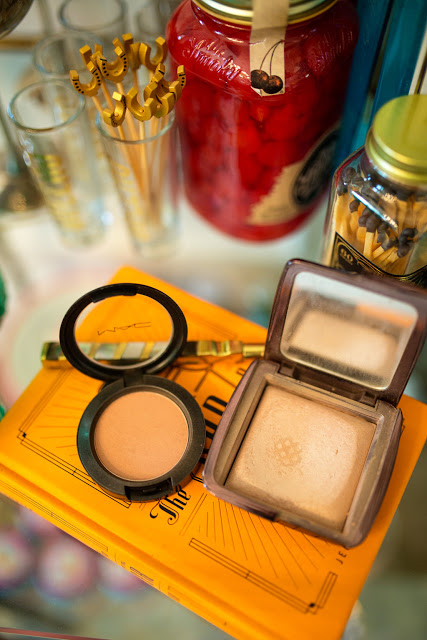
Blush: When it comes to rouge, MAC “Cheek Pollen” is an awesome neutral color that works on almost any skin tone.
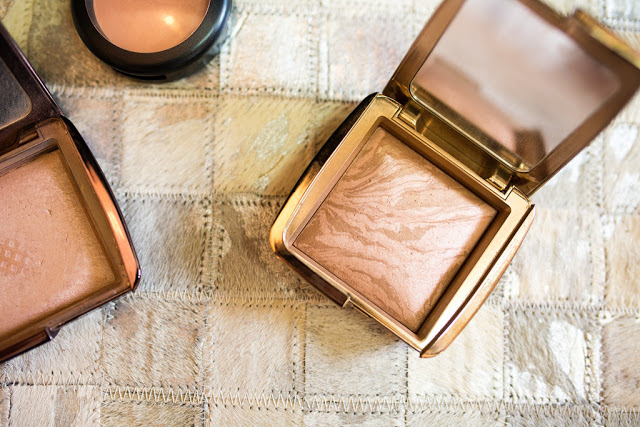
Moving onto another summer essential, Bronzer: the Hourglass Ambient Lighting Bronzer in “Luminous Bronze Light” is perfect… don’t be fooled or put off by the shimmer you can see in this bronzer upon first look. It creates the most beautiful summer glow when applied with a big fluffy brush to the perimeters of your face. And this is the ONLY bronzer I use on my more mature clients…..it smooths the skin while it warms it up.
Now let’s talk about highlighting and contouring… the topic we all want to know more about!
Highlight: I love to use a cream highlight and then set with a powder to really make it pop. In this look, I used the Becca Shimmering Skin Perfector liquid in “Moonstone” underneath the foundation so I could achieve an actual glow from within look. You want to aim the highlight where the sun would naturally hit first when you go outside. This is the high points of the cheeks, the middle of the forehead, the bridge of the nose and the cupids bow. Becca makes the absolute best highlighters on the market, and I also used the powder version of their shimmering skin perfecter in “Champagne Pop” to all the same areas of her face once I had set the foundation with powder.
Contour: Smashbox Contour Palette in “Light Medium”. The whole point of contouring is to create a shadow on your face, thus “sinking in” the are where you apply. That is what creates such awesome cheek bones. But remember that when you walk outside and look at your shadow, it isn’t orange…it is gray, so to get a true contour, you should aim to use a cool toned shade. The contour shade in this palette is the BEST color I have found and creates an amazing contour. Other great places to contour are the jawline, crease of your eyelid, perimeter of your forehead (if you want to make your forehead appear smaller) and under your bottom lip to create a fuller plump looking lip.
Now let’s touch base on finishing touches and additional goodies…
False Lashes: Some of my very favorite false lashes can be purchased at Wal-Mart! In fact, they are exclusive the the big box store. The line is Salon Perfect and the style I used on Natasha is the number 615. They are super wispy and flirty and fun for summer! My favorite lash glue is by far by the brand House of Lashes and can be purchased online. The lashes will not budge until you want them to when you use this glue.
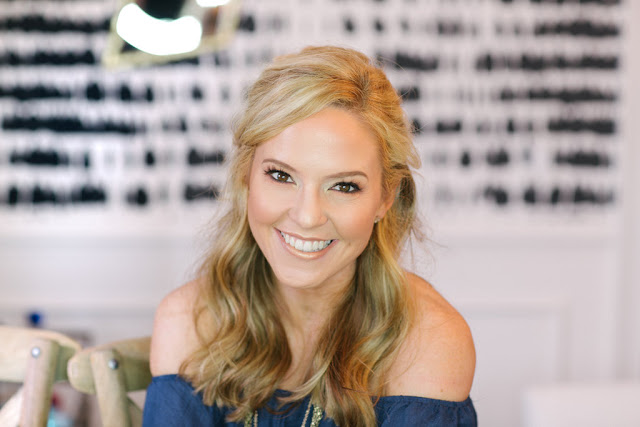
And the final result….
Overwhelmed?? Beauty can be so fun to watch unfold, so Mandy has created a video showing you the full step-by-step process of my makeup makeover… watch below and learn a new trick or two!
As always, I want to say a huge thank you to Mandy for collaborating with me on this feature post… we had a blast! Be sure to follow Mandy Davis MUA on Project Face || Instagram || Facebook || YouTube
And a BIG thank you to the fabulous Morgan Lindsay Photography for capturing all the amazing pictures of our fun day… check her out via Morgan Lindsay Photography || Facebook || Instagram

Love posts and videos about makeup!
you look gorgeous!!! xo jillian – cornflake dreams
Oh I so want to do this! A lesson with a make up artist would be so fun!
You look great! And she is wonderful, but that's a lot of make up! How did it feel when you were done? What's the one product you have to have after your make over?
GREAT question… hands down, the contouring kit from smashbox!!!
U look Beautiful. Mandy is a Great person besides a Wonderful artist. I'm a subbed to her channel and have talked to her via an app we r on. She is so kind and sweet and honest and I could go on. I love finding new blogs and so happy to find urs. I will sub for sure if I can find the button and I like Bloglovin if ur in there I will try to find u so I don't miss anything. Thanku so much.
Wow!!! What a fun day! You look gorgeous! I cannot wait to try some of these products.
Beautiful!!! I need a makeup refresh too!
What a fun girls night! I love getting my makeup done!
Absolutely gorgeous! Love the bronze glow 🙂
Just beautiful Natasha. I am glad that you are smiling in the before photo. Sometimes you see these and the person is so sad in the before. haha! The video was great to watch and I love to see you talk. My fave is the lashes!! I am terrible at make-up so this was good for that.
I love it!! So much fun working with you talented ladies. Mandy, you are amazing!!